My Custom Built Smoker
Posted: Mon Sep 19, 2011 2:52 pm
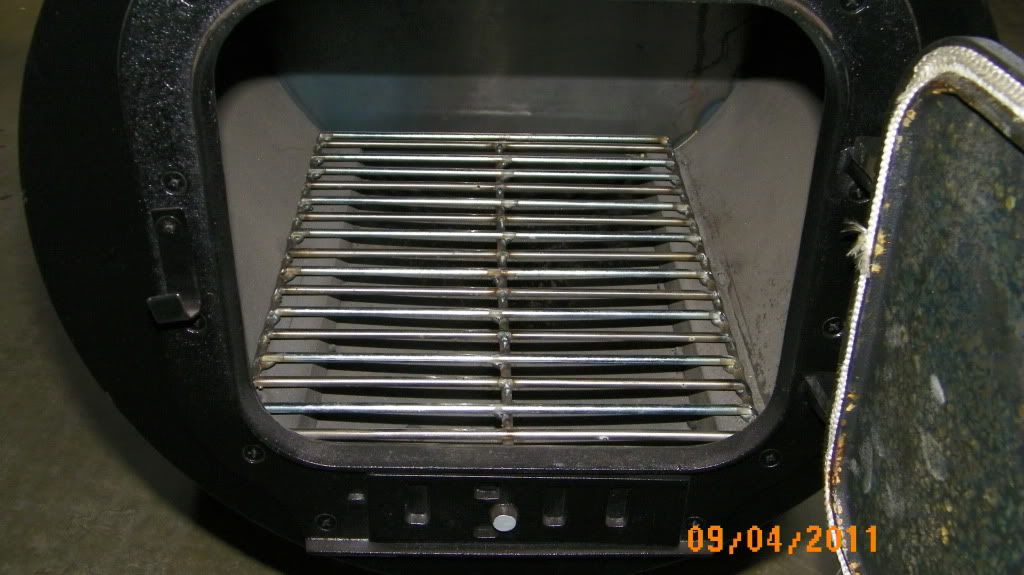
Fire Box
I purchased a sheet of 1/8" plate and had it cut to 18" wide by 4'-7" long, had it rolled and the seam welded. Purchased a "barrel stove kit" for the door and damper then took the left over 18" rip of plate to make the ends of the fire box. Then I took 1/4" pencil rod and welded them to make a grate for the wood chips that sit on angle that can be removed for cleaning out the bottom of ash . 4 1/2" of the top of the fire box is welded to the bottom of the smoking chamber
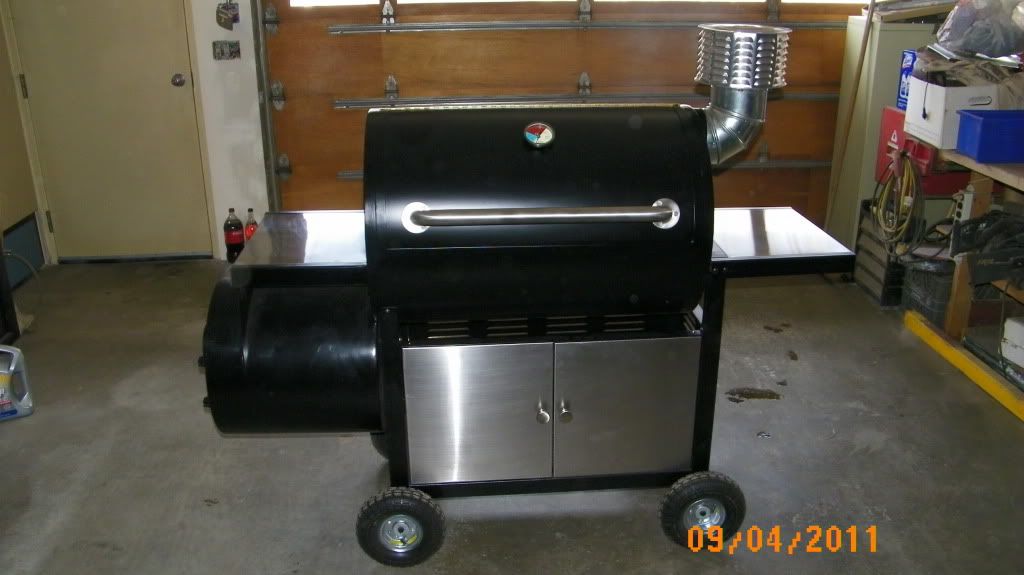
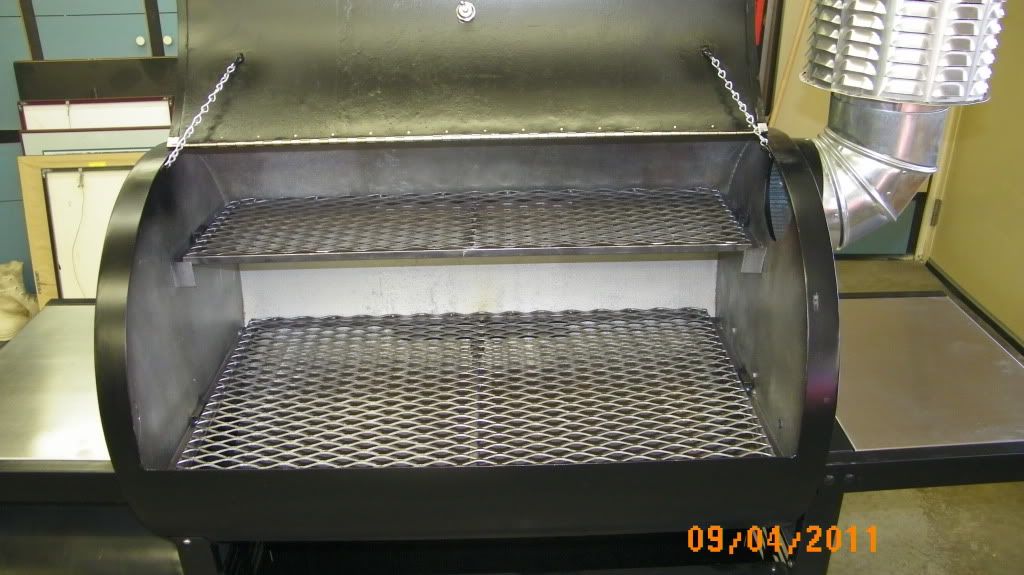
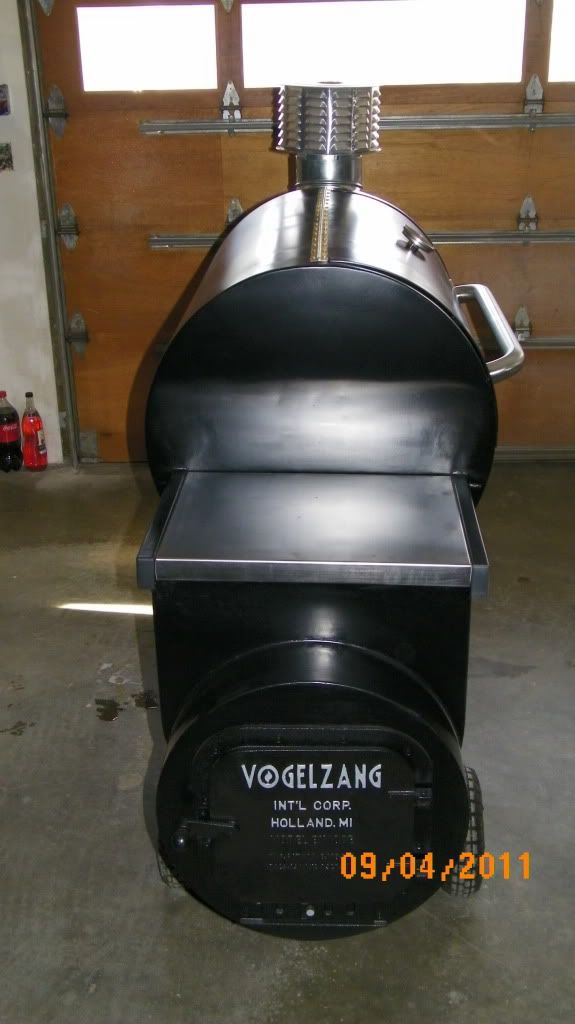
Smoking Chamber
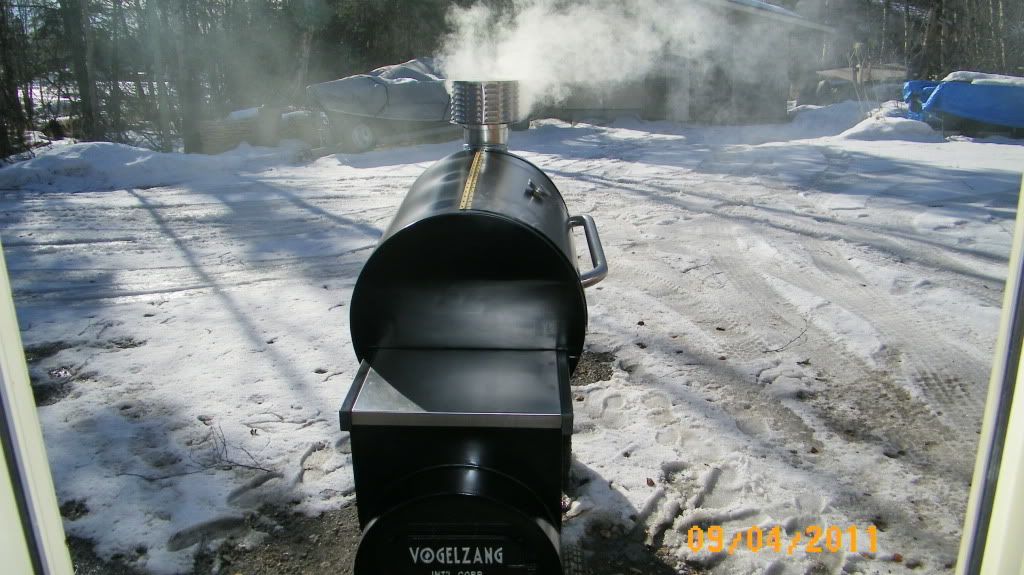
This was an old glycol tank from the Wal-Mart job that I cleaned out and painted the inside just seal it to make sure any dust etc would not fall onto the meat or fish. Welded up the holes from the piping and cut out the door, drilled and taped a piano hinge and welded 1" flat stock around the perimeter of the door for a seal. I picked up a 24" SS grab bar for a handle and pinged the flat flanges to contour around the tank lid. Purchased a BBQ thermometer so I could adjust the damper on the fire box door to keep the temperature around 175 degrees. I welded angle inside to carry the grates, I then welded 1/2"x 1/2"x 1/16" tube steel to make a frame for the grates. This way I can remove and clean them going from smoking fish to meat. The grates are 9ga expanded metal, the bottom grate is 20 1/2" x 33" and the top is 9 1/2" x 33". I picked up a 6" 90 degree elbow and a 6" vent cap
The Cart
Is our old BBQ cart that I pulled the BBQ itself out and did some mortifications to the cart sandblasted and re-painted it. If I ever needed to, five bolts and I can remove it. I was able to reuse the (2) SS shelves, one on the right is just liked it was on the BBQ the other one I modified the sides and welded them to the smoking chamber and welded 1/8" plate for support to the fire box. Picked up (4) hand truck tires and rims and welded 5/8" rod to the bottom for axles. As you can see there are no turning wheels but think of this as a wheelbarrow, I pick up on the shelf on the right as all the weight is on the left w/ the fire box.
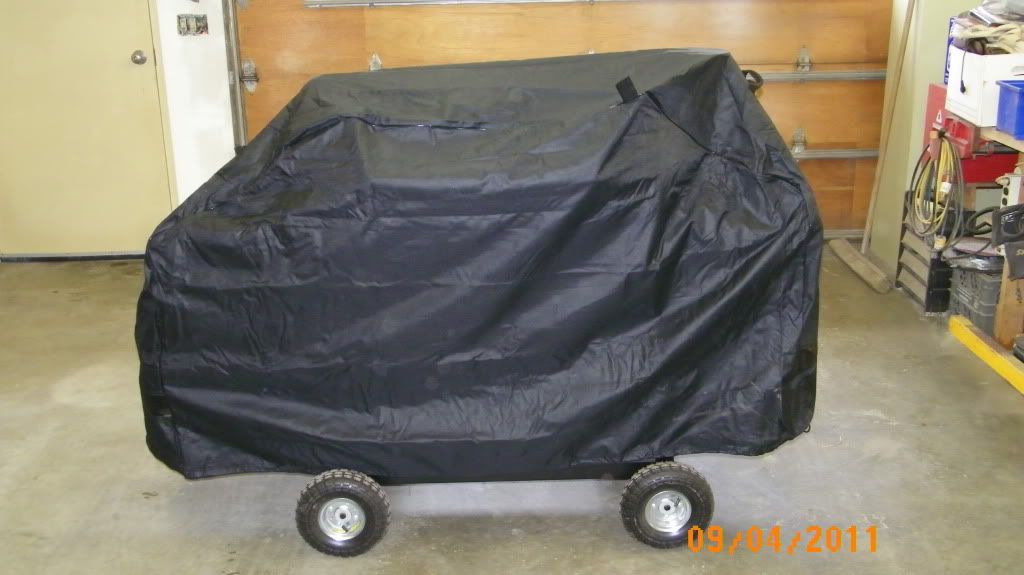
All the nuts and bolts are SS or brass so I don't have to worry about rust and I picked up a heavy duty cover at Costco that covers the whole thing. As you can see it flows or "smoke convection" works better than I thought. I Love it when a plan comes together!!!!!

I purchased a sheet of 1/8" plate and had it cut to 18" wide by 4'-7" long, had it rolled and the seam welded. Purchased a "barrel stove kit" for the door and damper then took the left over 18" rip of plate to make the ends of the fire box. Then I took 1/4" pencil rod and welded them to make a grate for the wood chips that sit on angle that can be removed for cleaning out the bottom of ash . 4 1/2" of the top of the fire box is welded to the bottom of the smoking chamber
Smoking Chamber
This was an old glycol tank from the Wal-Mart job that I cleaned out and painted the inside just seal it to make sure any dust etc would not fall onto the meat or fish. Welded up the holes from the piping and cut out the door, drilled and taped a piano hinge and welded 1" flat stock around the perimeter of the door for a seal. I picked up a 24" SS grab bar for a handle and pinged the flat flanges to contour around the tank lid. Purchased a BBQ thermometer so I could adjust the damper on the fire box door to keep the temperature around 175 degrees. I welded angle inside to carry the grates, I then welded 1/2"x 1/2"x 1/16" tube steel to make a frame for the grates. This way I can remove and clean them going from smoking fish to meat. The grates are 9ga expanded metal, the bottom grate is 20 1/2" x 33" and the top is 9 1/2" x 33". I picked up a 6" 90 degree elbow and a 6" vent cap
The Cart
Is our old BBQ cart that I pulled the BBQ itself out and did some mortifications to the cart sandblasted and re-painted it. If I ever needed to, five bolts and I can remove it. I was able to reuse the (2) SS shelves, one on the right is just liked it was on the BBQ the other one I modified the sides and welded them to the smoking chamber and welded 1/8" plate for support to the fire box. Picked up (4) hand truck tires and rims and welded 5/8" rod to the bottom for axles. As you can see there are no turning wheels but think of this as a wheelbarrow, I pick up on the shelf on the right as all the weight is on the left w/ the fire box.
All the nuts and bolts are SS or brass so I don't have to worry about rust and I picked up a heavy duty cover at Costco that covers the whole thing. As you can see it flows or "smoke convection" works better than I thought. I Love it when a plan comes together!!!!!